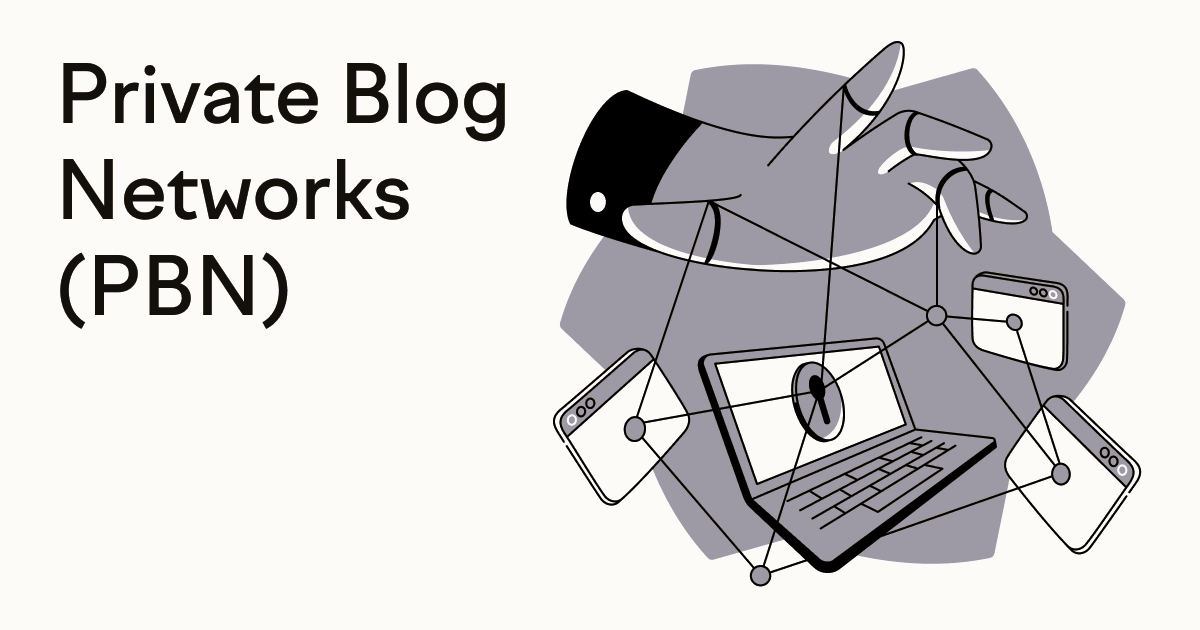
In today’s digital age, expressing oneself has never been easier. With the power of the internet at our fingertips, anyone can share their thoughts, experiences, and passions with the world through blogging. If you’ve ever dreamed of having your own platform to showcase your ideas, WordPress offers a simple yet powerful solution. In this blog post, we’ll guide you through the process of creating your own blog profile and sharing your voice with the world.
Why WordPress?
WordPress is the go-to platform for bloggers around the globe, and for good reason. With its user-friendly interface, customizable themes, and vast array of plugins, WordPress makes it easy for anyone to create a professional-looking website without any coding knowledge. Whether you’re a seasoned blogger or just starting out, WordPress has everything you need to bring your ideas to life.
How to create Own Blog Network – Public Can make Their Own blog
To create a platform where users can make their own blog profiles and post their own blogs using WordPress, you can follow these steps:
- Install WordPress: First, you need to install WordPress on your web server. Most hosting providers offer a simple, one-click installation process for WordPress.
- Select a Theme: Choose a WordPress theme that supports user profiles and blogging functionality. Look for themes that are specifically designed for community or blogging websites.
- Install Necessary Plugins: You’ll need to install some plugins to add user profile and blogging functionality. Here are some essential plugins you might consider:
- User Registration: Install a plugin like “Ultimate Member” or “WP User Frontend” to allow users to register and create their own profiles.
- Blogging: Install a plugin like “WP User Frontend” or “User Submitted Posts” to enable users to submit their own blog posts from the front-end.
- User Role Management: Consider using a plugin like “Members” or “User Role Editor” to manage user roles and permissions, so you can control who can publish, edit, or delete posts.
- Security: Install security plugins like “Wordfence” or “Sucuri Security” to protect your website from potential threats.
- Configure User Registration and Profile Settings: Set up the user registration and profile settings in the plugin you’ve installed. Customize the fields users can fill out in their profiles, and configure any other settings related to user registration.
- Configure Blogging Settings: Configure the settings for user-submitted blog posts. Determine which user roles are allowed to submit posts, whether posts need to be reviewed before publishing, and any other relevant settings.
- Customize User Profile Pages: Customize the user profile pages to display the information you want users to see. You can use shortcodes or template files provided by your chosen plugin to customize the layout and design of the profile pages.
- Promote Your Platform: Once everything is set up, promote your platform to attract users to register and start blogging. You can use social media, email marketing, and other promotional tactics to drive traffic to your website.
By following these steps, you can create a WordPress website where users can create their own blog profiles and post their own blogs.
In conclusion, creating your own blog profile with WordPress is a simple yet empowering process. With the right tools and a little creativity, you can share your voice with the world and connect with like-minded individuals who share your passions. So what are you waiting for? Start blogging today and let your voice be heard!


